CS21 Lab 6: OOP and Graphics
Due Sunday, March 9th, before midnight
You are strongly encouraged to finish this lab before leaving for Spring Break. You will not be able to run graphics applications remotely using VSCode on your laptop. You will need to be on campus to run your graphics applications.
Goals
-
Create and manipulate multiple graphical objects.
-
Use method syntax to perform actions on objects
-
Write and use functions that have objects as parameters
-
Interact with user mouse clicks
You are strongly encouraged to review in class examples and the Graphics Documentation for reference on Graphics classes and method syntax.
As you write programs, use good programming practices:
-
Use a comment at the top of the file to describe the purpose of the program (see example).
-
All programs should have a
main()function (see example). -
Use variable names that describe the contents of the variables.
-
Write your programs incrementally and test them as you go. This is really crucial to success: don’t write lots of code and then test it all at once! Write a little code, make sure it works, then add some more and test it again.
-
Don’t assume that if your program passes the sample tests we provide that it is completely correct. Come up with your own test cases and verify that the program is producing the right output on them.
-
Avoid writing any lines of code that exceed 80 columns.
-
Always work in a terminal window that is 80 characters wide (resize it to be this wide)
-
In
vscode, at the bottom right in the window, there is an indication of both the line and the column of the cursor.
-
Function Comments
All functions should include a comment explaining their purpose, parameters, return value, and describe any side effects. Please see our function example page if you are confused about writing function comments.
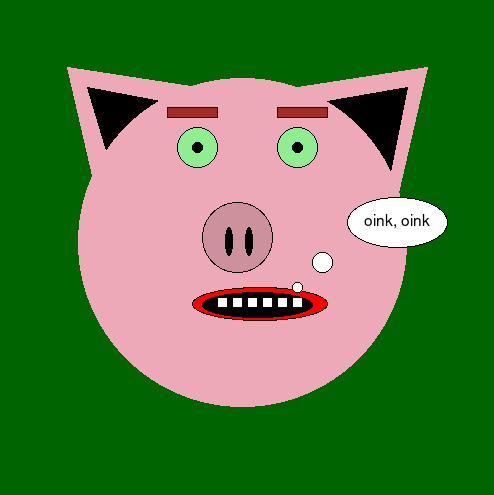
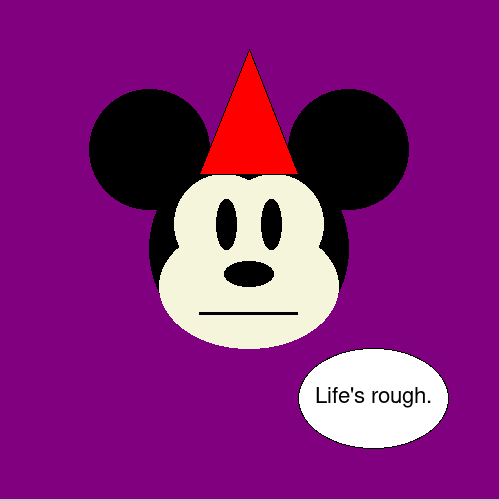
1. Draw a Face
In face.py you will write a program that draws a face. Your face can
be that of a human, an animal, a cartoon, a fantasy creature, or something similar.
This is an opportunity to have some fun with the graphics library.
1.1. Requirements
Your program should have the following features:
-
Draw a face with at least 5 different features in addition to the main head shape. Some features include: eyes, nose, mouth, ears, hair, beard, antenna, horns, or teeth.
-
Your face should use at least 3 different shapes, and 3 different colors (background color counts).
-
The first mouse click should have your character say something (in text). Please keep the message friendly.
-
The second mouse click should exit your program (i.e. make sure that your program does not exit before the user clicks the mouse).
1.2. Example Output
Here are some example faces drawn by some past CS21 students, CS21 ninjas, and CS21 staff:
$ python3 face.py


1.3. Hints/Tips
-
You need to run graphics library programs from CS machines (not remotely connected).
-
Refer to the in-class programs for examples of how to use the graphics library and some different methods of some of the classes.
-
Make use of the Zelle Graphics Reference, and other references off the course Schedule, to find methods that might be useful for setting the color and position of different objects.
-
If you are reproducing two or more identical features, for example you have two eyes that are drawn from the same shapes of the same sizes, remember you can use the
clonemethod to make a copy of a shape object and themovemethod to move a shape to a new location. -
The
getMousemethod of aWindowobject waits for a mouse click. -
Remember that the order in which you draw objects that overlap changes the final outcome of what is ultimately drawn.
2. Trees
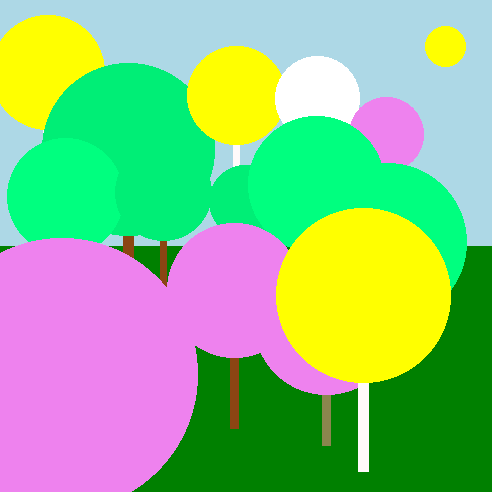
Write a program trees.py that allows a user to interactively draw a spring scene consisting of multiple trees in bloom.
2.1. Initial setup
The starter code uses win.setCoords to change the default coordinates of the graphics window to be from (0,0) in the lower left corner to (w,100) in the upper right corner, where w is 100 times the _aspect ratio of the original window width divided by the original window height. This is done so you may always assume the top y-coordinate of your window will always be 100, while the max x-coordinate will be w, which is close to 100, but may be slightly less if the window is tall and skinny, or larger if the window is short and wide.
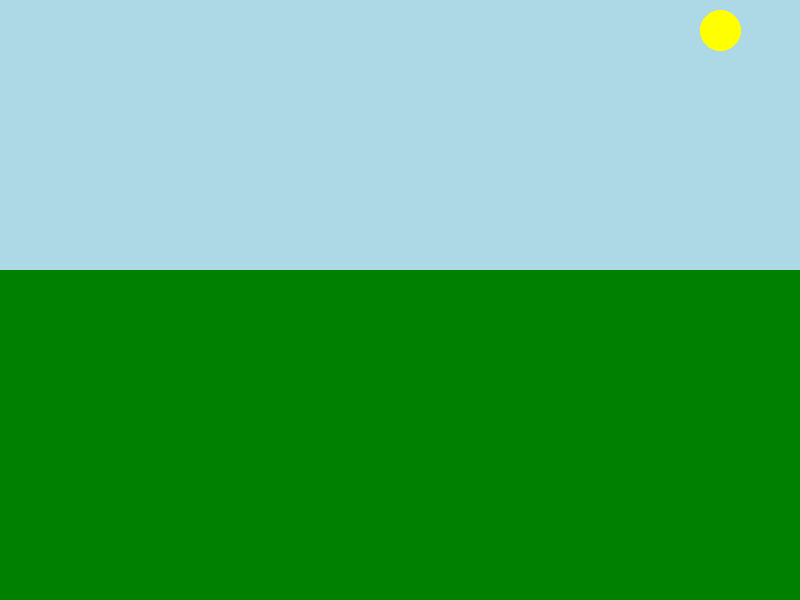
You should start designing your program by creating a simple scene in a graphics window consisting of
-
A rectangular sky at the top
-
A circular sun somewhere in the sky, preferably near the top of the window
-
A rectangular ground at the bottom
Write a function make_sun(win, width) that creates the sun object in the graphics window, draws it, and returns the circle object representing the sun. The width parameter passed to this function is the scaled width of the aspect ratio computed in main times 100. You may need this value to determine the x-coordinate of your sun. Additionally, write a function make_ground(win, width) that creates the ground, draws it, and returns the rectangular object representing the ground. Write a main function that creates the primary graphics window, calls your two helper functions, and then repeatedly gets mouse clicks from the user until the user clicks inside the sun. When the user clicks inside the sun, the program should exit.
To determine if a click is inside the sun, compute the distance \(d\) from the click to the center of the circle. If this distance is less than the radius of the sun, the point is inside the circle. To compute the distance between two points, \(p_1\) and \(p_2\), use the formula: \(d=\sqrt{(p_1.\!x-p_2.\!x)^2+(p_1.\!y-p_2.\!y)^2}\). The notation \(p_1.\!x\) means the \(x\) coordinate of point \(p_1\).
You must write a distance function to compute and return the distance between any two points.
You could also write an inside function that determines if a click point is inside a circle that uses your distance function.
2.2. Adding trees
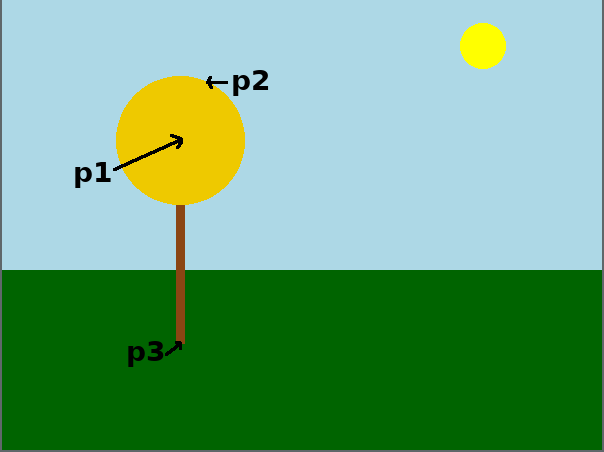
A tree is define by three points:
-
\(p_1\): the center of the tree’s canopy.
-
\(p_2\): a point on the edge of the tree’s canopy
-
\(p_3\): a point located at the height of the base of the tree’s trunk.
The annotated image below shows the location of clicks for one sample tree. It wouldn’t be Swarthmore without a labeled tree somewhere.
Once the user has clicked on three points defining a single tree, you should draw a tree as follows:
-
Compute the distance \(r\) between \(p_1\) and \(p_2\) using the distance formula above.
-
Create a circle with center \(p_1\) and radius \(r\) of a random spring-time color.
-
Compute the trunk width \(t=\sqrt{r}\).
-
Compute bottom \(y\)-coordinate \(b=p_3.\!y\) of the trunk.
-
Create a rectangular trunk of width \(t\) centered around \(p_1.\!x\) and extending vertically from \(p_1.\!y\) to \(b\).
-
Pick a random color for the trunk.
-
Draw the trunk first, then the circle for the canopy.
Modify your main program to draw a tree after every three clicks. You must write a draw_tree function of your own design. You may assume that if the first click is not in the sun, the next two clicks will form part of the tree, meaning you do not need to do a sun check for \(p_2\) and \(p_3\). If the canopy of the tree covers the sun, your program should still exit if the user clicks where the sun was located previously on the next \(p_1\) click.
Create a Text object that instructs what step is next. You can create a single Text object and use setText to change the current prompt as needed.
2.3. Example
The video below shows a sample of the program in use. For clarity, the individual mouse clicks are marked as black points until the tree is drawn. You do not need to implement this feature.
2.4. Requirements
-
Your program must exit when the user clicks inside the sun on the first of three clicks.
-
Your program must define
make_sun,make_ground, anddistancefunctions as specified above. -
Your program must define a
draw_treefunction of your own design that draws a tree after three mouse clicks. -
Trees should have a randomly chosen canopy and trunk colors.
2.5. Hints
-
Proceed incrementally. After the initial setup, modify the code to draw a circle of a fixed sized at the center of every mouse click. Then refine your solution to draw circles of different size using two clicks, \(p_1\) and \(p_2\). Next support the three click tree. Finally add random color support.
-
The methods
getP1()andgetP2()return the opposite corners of aRectangleobject. This may be helpful for determining the height of the ground. -
Use
from math import sqrtto get thesqrtfunction -
Use the
choicefunction from therandomlibrary to get a random color. Here are some sample colors used:-
leaf_colors = ["white", "violet", "SpringGreen1", "SpringGreen2", "yellow"] -
trunk_colors=["brown", "snow1", "SaddleBrown", "DarkGoldenRod4", "khaki4"]
-
2.6. Optional extensions
These features are NOT required for full credit, but may be a fun extra challenge.
-
If \(b\) is located in the sky and not in the ground, modify \(b\) to be the top of the ground.
-
Modify your code so if the user clicks on the sun after clicking \(p_1\) or \(p_2\) (a partial tree), your program should still quit.
Requirements
|
The code you submit for labs is expected to follow good style practices, and to meet one of the course standards, you’ll need to demonstrate good style on six or more of the lab assignments across the semester. To meet the good style expectations, you should:
In addition, you’ll need to demonstrate good top-down design practices on two or more lab assignments across the semester. To meet the top-down design expectations, you should:
|
Answer the Questionnaire
After each lab, please complete the short Google Forms questionnaire. Please select the right lab number (Lab 06) from the dropdown menu on the first question.
Once you’re done with that, you should run handin21 again.
Submitting lab assignments
Remember to run handin21 to turn in your lab files! You may run handin21
as many times as you want. Each time it will turn in any new work. We
recommend running handin21 after you complete each program or after you
complete significant work on any one program.
Logging out
When you’re done working in the lab, you should log out of the computer you’re using.
First quit any applications you are running, including your vscode editor, the browser and the
terminal. Then click on the logout icon ( or
or
 ) and choose "log out".
If you plan to leave the lab for just a few minutes, you do not need to log
out. It is, however, a good idea to lock your machine while you are gone. You
can lock your screen by clicking on the lock  icon.
PLEASE do not leave a session locked for a long period of time. Power may go
out, someone might reboot the machine, etc. You don’t want to lose any work!
icon.
PLEASE do not leave a session locked for a long period of time. Power may go
out, someone might reboot the machine, etc. You don’t want to lose any work!