CS21 Lab 6: Pixel Processing
In this lab, we’ll write programs to visualize digital images in
different ways culminating in an image
mosaic. Along
the way, we will practice nested for loops, lists, functions, and
think more about how color is represented on computers.


For most of this lab, we will use "Gulliver’s Travels" (1939) as an example. This movie is the second ever animated movie in Technicolor (after "Snow White") and is in the public domain.
Due MONDAY October 24, by midnight
Are your files in the correct place?
Make sure all programs are saved to your cs21/labs/06 directory! Files
outside that directory will not be graded.
$ update21
$ cd ~/cs21/labs/06
$ pwd
/home/username/cs21/labs/06
$ ls
Questions-06.txt
(should see your program files here)
Goals
The goals for this lab assignment are:
-
Use images as input to, and output from, our programs
-
Practice writing functions
-
Work with
Image,Rectangle, andPointobjects -
Use methods and constructors
-
Work with lists.
Image Processing
For this lab we’ll use the Image library in Python (python3) for
its graphics rather than Processing. The following
facilities will be used:
Image
from image import Image, Point, Rectangle

img = Image("FILENAME")      # create an Image object
img = Image(width, height)   # create a (width x height) blank image object
img.save("FILENAME")         # save the image

img.getWidth()               # returns the width of the image
img.getHeight()              # returns height of the image
img.resize(width, height)    # returns a resized version of the image

c = img.getPixel(x, y)       # returns the [r,g,b] color at (x, y) in img
img.setPixel(x, y, c)        # change the color at (x, y) in img to c

small.pasteInto(bigger, p)   # draw a small image in another bigger image
small.pasteInto(bigger, r)   # draw a smaller image within a rectangle of the bigger image

p = Point(x, y)              # create a Point object
p.getX()                     # returns the x-coordinate of p
p.getY()                     # returns the y-coordinate of p

r = Rectangle(p1, p2)        # create a Rectangle object with top left (p1)
                               and bottom right (p2) points.
r.getP1()                    # returns the the top left point of r
r.getP2()                    # returns the the bottom right point of r
r.setFill(c)                 # set the interior color of the rectangle
r.setOutline(c)              # set the boundary color of the rectangle
r.draw(img)                  # draw the rectange on the image (img)
1. Warm-up
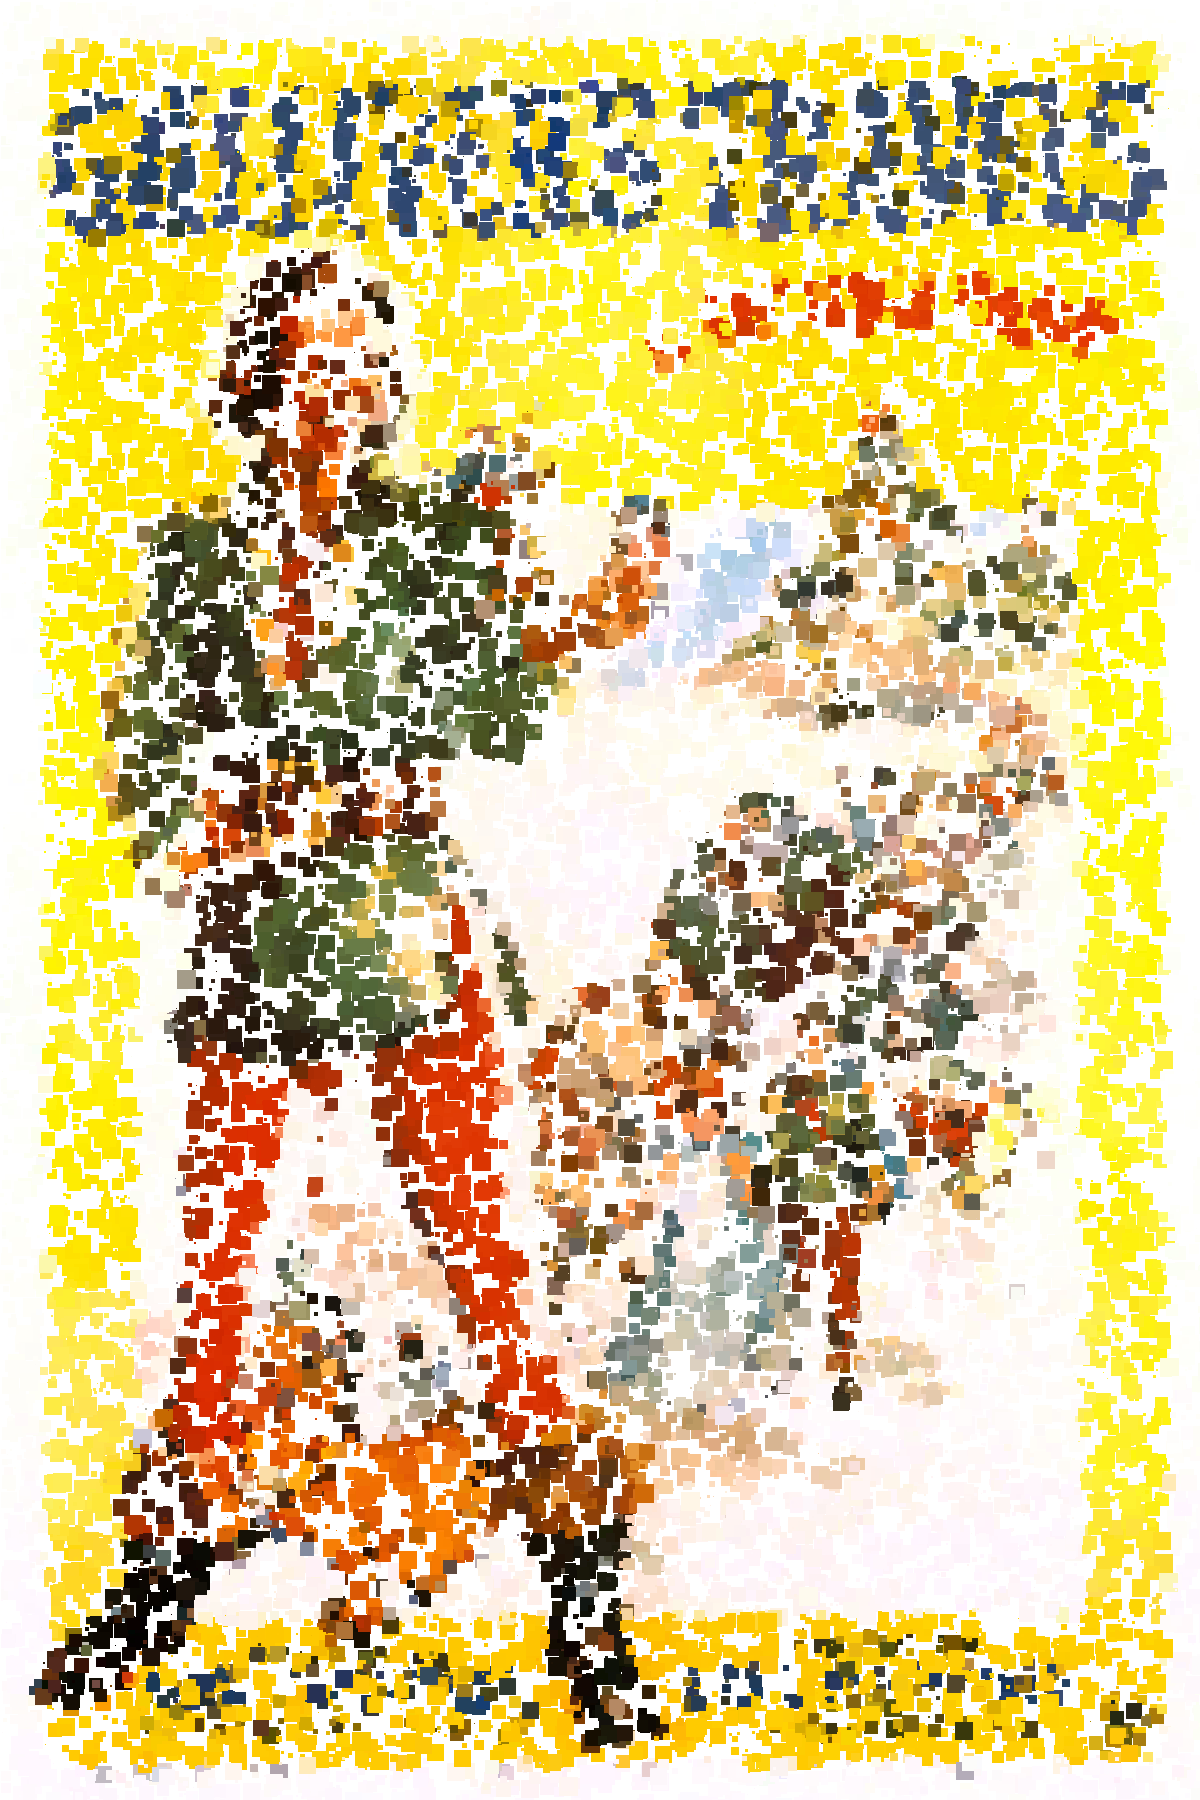
Our warm-up program is based on
pointillism by
Dan Shiffman. Modify it so it draws n randomly placed rectangles.
from random import randrange
from image import Image, Point, Rectangle

def pixelize(img, n):
    '''
    Recreate an image, img, by drawing n randomly placed, and
    randomly sized rectangles, with the appropriate color

    Parameters:
        img:Image - the image to pixelize
        n:int - number of rectangles to draw
    Returns:
        a new image
    '''

    i = Image(img.getWidth(), img.getHeight())
    x = randrange(img.getWidth())
    y = randrange(img.getHeight())
    d = randrange(1, 20)
    c = img.getPixel(x, y)
    r = Rectangle(Point(x, y), Point(x + d, y + d))
    r.setFill(c)
    r.setOutline(c)
    r.draw(i)
    return i

def main():
    img = pixelize(Image("/data/cs21/gulliver/poster_full.png"), 20000)
    img.save("warmup.png")

main()
$ python3 pixelize.py

2. A Grid
Modify the pixelize function above to display a grid of squares,
rather than random squares. The pixelize function should take two
parameters that describe the width and height of the small
rectangles, in addition to the image.
from image import Rectangle, Point, Image

def pixelize(img, w, h):
    """
    Pixelize an image, img, with each block being w pixels wide
    and h pixels high. Color is determined by the top left pixel
    in the block.
    Parameters:
        img:Image - the image to pixelize
        w:int - the width of each block
        h:int - the height of each block
    Returns:
        a new pixelized image
    """
    pass


def main():
    img = Image("/data/cs21/gulliver/poster_full.png")
    o_img = pixelize(img, 12, 18)
    o_img.save("grid.png")

main()
2.1. Smaller Test Image
def main():
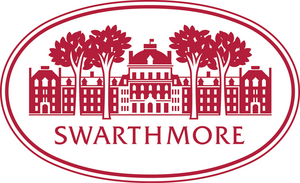
    img = Image("/data/cs21/swarthmore.png")
    o_img = pixelize(img, 100, 61)
    o_img.save("swatgrid.png")

main()

2.2. Average RGB
To capture more information about the small rectangles, we’ll create a
function to compute the average color of a patch. Write a function
compute_avg(image, rectangle) that computes the average color of the
rectangle with the top-left corner being rectangle.getP1() and the
bottom-right corner being rectangle.getP2(). Add up all the values
in the red channel and divide by the number of pixels in the rectangle,
and do a similar calculation for the green and blue channels. Be sure
to sure to only include the pixels that actually exist.
def main():
    i = Image("/data/cs21/gulliver/poster_full.png")
    whole = compute_avg(i, Rectangle(Point(0, 0),
                                     Point(i.getWidth(), i.getHeight())))

    print("image average:", whole)

    top = compute_avg(i, Rectangle(Point(0, 0),
                                   Point(i.getWidth(), i.getHeight()//2)))
    print("top average:", top)

    bottom = compute_avg(i, Rectangle(Point(0, i.getHeight()//2),
                                      Point(i.getWidth(), i.getHeight())))
    print("bottom average:", bottom)

    bigger = compute_avg(i, Rectangle(Point(-5, -5),
    	                              Point(2*i.getWidth(), i.getHeight())))
    print("image average (even when rectangle goes outside bounds):", bigger)

main()
OUTPUT
image average: (206, 179, 100)
top average: (202, 183, 86)
bottom average: (209, 175, 114)
image average (even when rectangle goes outside bounds): (206, 179, 100)
Modify pixelize to use your new compute_avg function.
def pixelize(img, w, h):
    '''
    Pixelize an image, img, with each block being w pixels wide
    and h pixels high. Color is determined by the average color
    in the block.
    Parameters:
        img:Image - the image to pixelize
        w:int - the width of each block
        h:int - the height of each block
    Returns:
        a new pixelized image
    '''

    i = Image(img.getWidth(), img.getHeight())
    ...
    c = compute_avg(________________)
    ...
    r.setFill(c)
    r.setOutline(c)
    ...
    return i

def main():
    img = Image("/data/cs21/gulliver/poster_full.png")
    o_img = pixelize(img, 12, 18)
    o_img.save("grid.png")

main()
2.3. Smaller Test Image
def main():
    img = Image("/data/cs21/swarthmore.png")
    o_img = pixelize(img, 100, 61)
    o_img.save("swatgrid.png")

main()
3. Color Palette
Create a function sample_image(img, n) that returns a palette of
colors based on an image. It should look at the color of the pixels at
n random places in img, collect them in a list, and return it. You
can use randrange(low, high) to ask Python for a random number in
some range between low and high.
from random import seed, randrange

def main():
    seed(1234)
    img = Image("/data/cs21/gulliver/poster_full.png")
    palette = sample_image(img, 8)
    for c in palette:
    	print(c)

main()
OUTPUT
[255, 228, 1]
[254, 255, 250]
[255, 255, 255]
[46, 71, 112]
[255, 236, 22]
[255, 251, 247]
[254, 254, 254]
[253, 253, 243]|
The |
4. RGB Distance
Write a function that computes the distance between two colors. There are many possible distance functions we could use, but let’s rely on the euclidean distance. The RGB cube is a kind of three-dimensional space like XYZ.

For example if we are comparing two colors, \(u\) and \(v\), \(d(u, v) = \sqrt{(u_r - v_r)^2 + (u_g - v_g)^2 + (u_b - v_b)^2}\).
def main():
    pink = [255, 51, 153]
    chocolate = [210, 105, 30]
    print("dist(pink, chocolate) = %f" % rgbdist(pink, chocolate))
    print(((255 - 210)**2 + (51 - 105)**2 + (153 - 30)**2)**0.5)

main()
OUTPUT
dist(pink, chocolate) = 141.668627
141.66862743741115
5. Nearest Color
Create a function nearest_color(palette, c) that returns the index
of the closest color in the list of colors (palette).
def main():
    pink = [255, 51, 153]
    chocolate = [210, 105, 30]
    purple = [0, 255, 255]
    three_colors = [pink, chocolate, purple]
    c1 = [0, 196, 128]
    n1 = nearest_color(three_colors, c1)  ## returns 2
    print(n1)

    c2 = [0, 22, 2]
    n2 = nearest_color(three_colors, c2)  ## returns 1
    print(n2)

main()|
As a hint, if we were trying to find the OUTPUT |
6. Colorize the Image
Use the function nearest_color to recolor your small rectangles based
on a palette. You can use the palette generated by sample_image (which you already wrote) or design your own color palette.
def pixelize(img, w, h, palette):
    '''
    Pixelize an image, img, with each block being w pixels wide
    and h pixels high. Color is determined by the finding the
    closest color in the palette to the average pixel in the block.
    Parameters:
        img:Image - the image to pixelize
        w:int - the width of each block
        h:int - the height of each block
        palette:list - a list of colors
    Returns:
        a new pixelized image
    '''

    ...
    c_i = nearest_color(____)
    ...
    r.setFill(_____)
    r.setOutline(_____)
    ...

def main():
    seed(16)
    img = Image("/data/cs21/gulliver/poster_full.png")
    colors = sample_image(img, 12)
    o_img = pixelize(img, 12, 18, colors)
    o_img.save("colorized.png")

main()
7. Mosaic
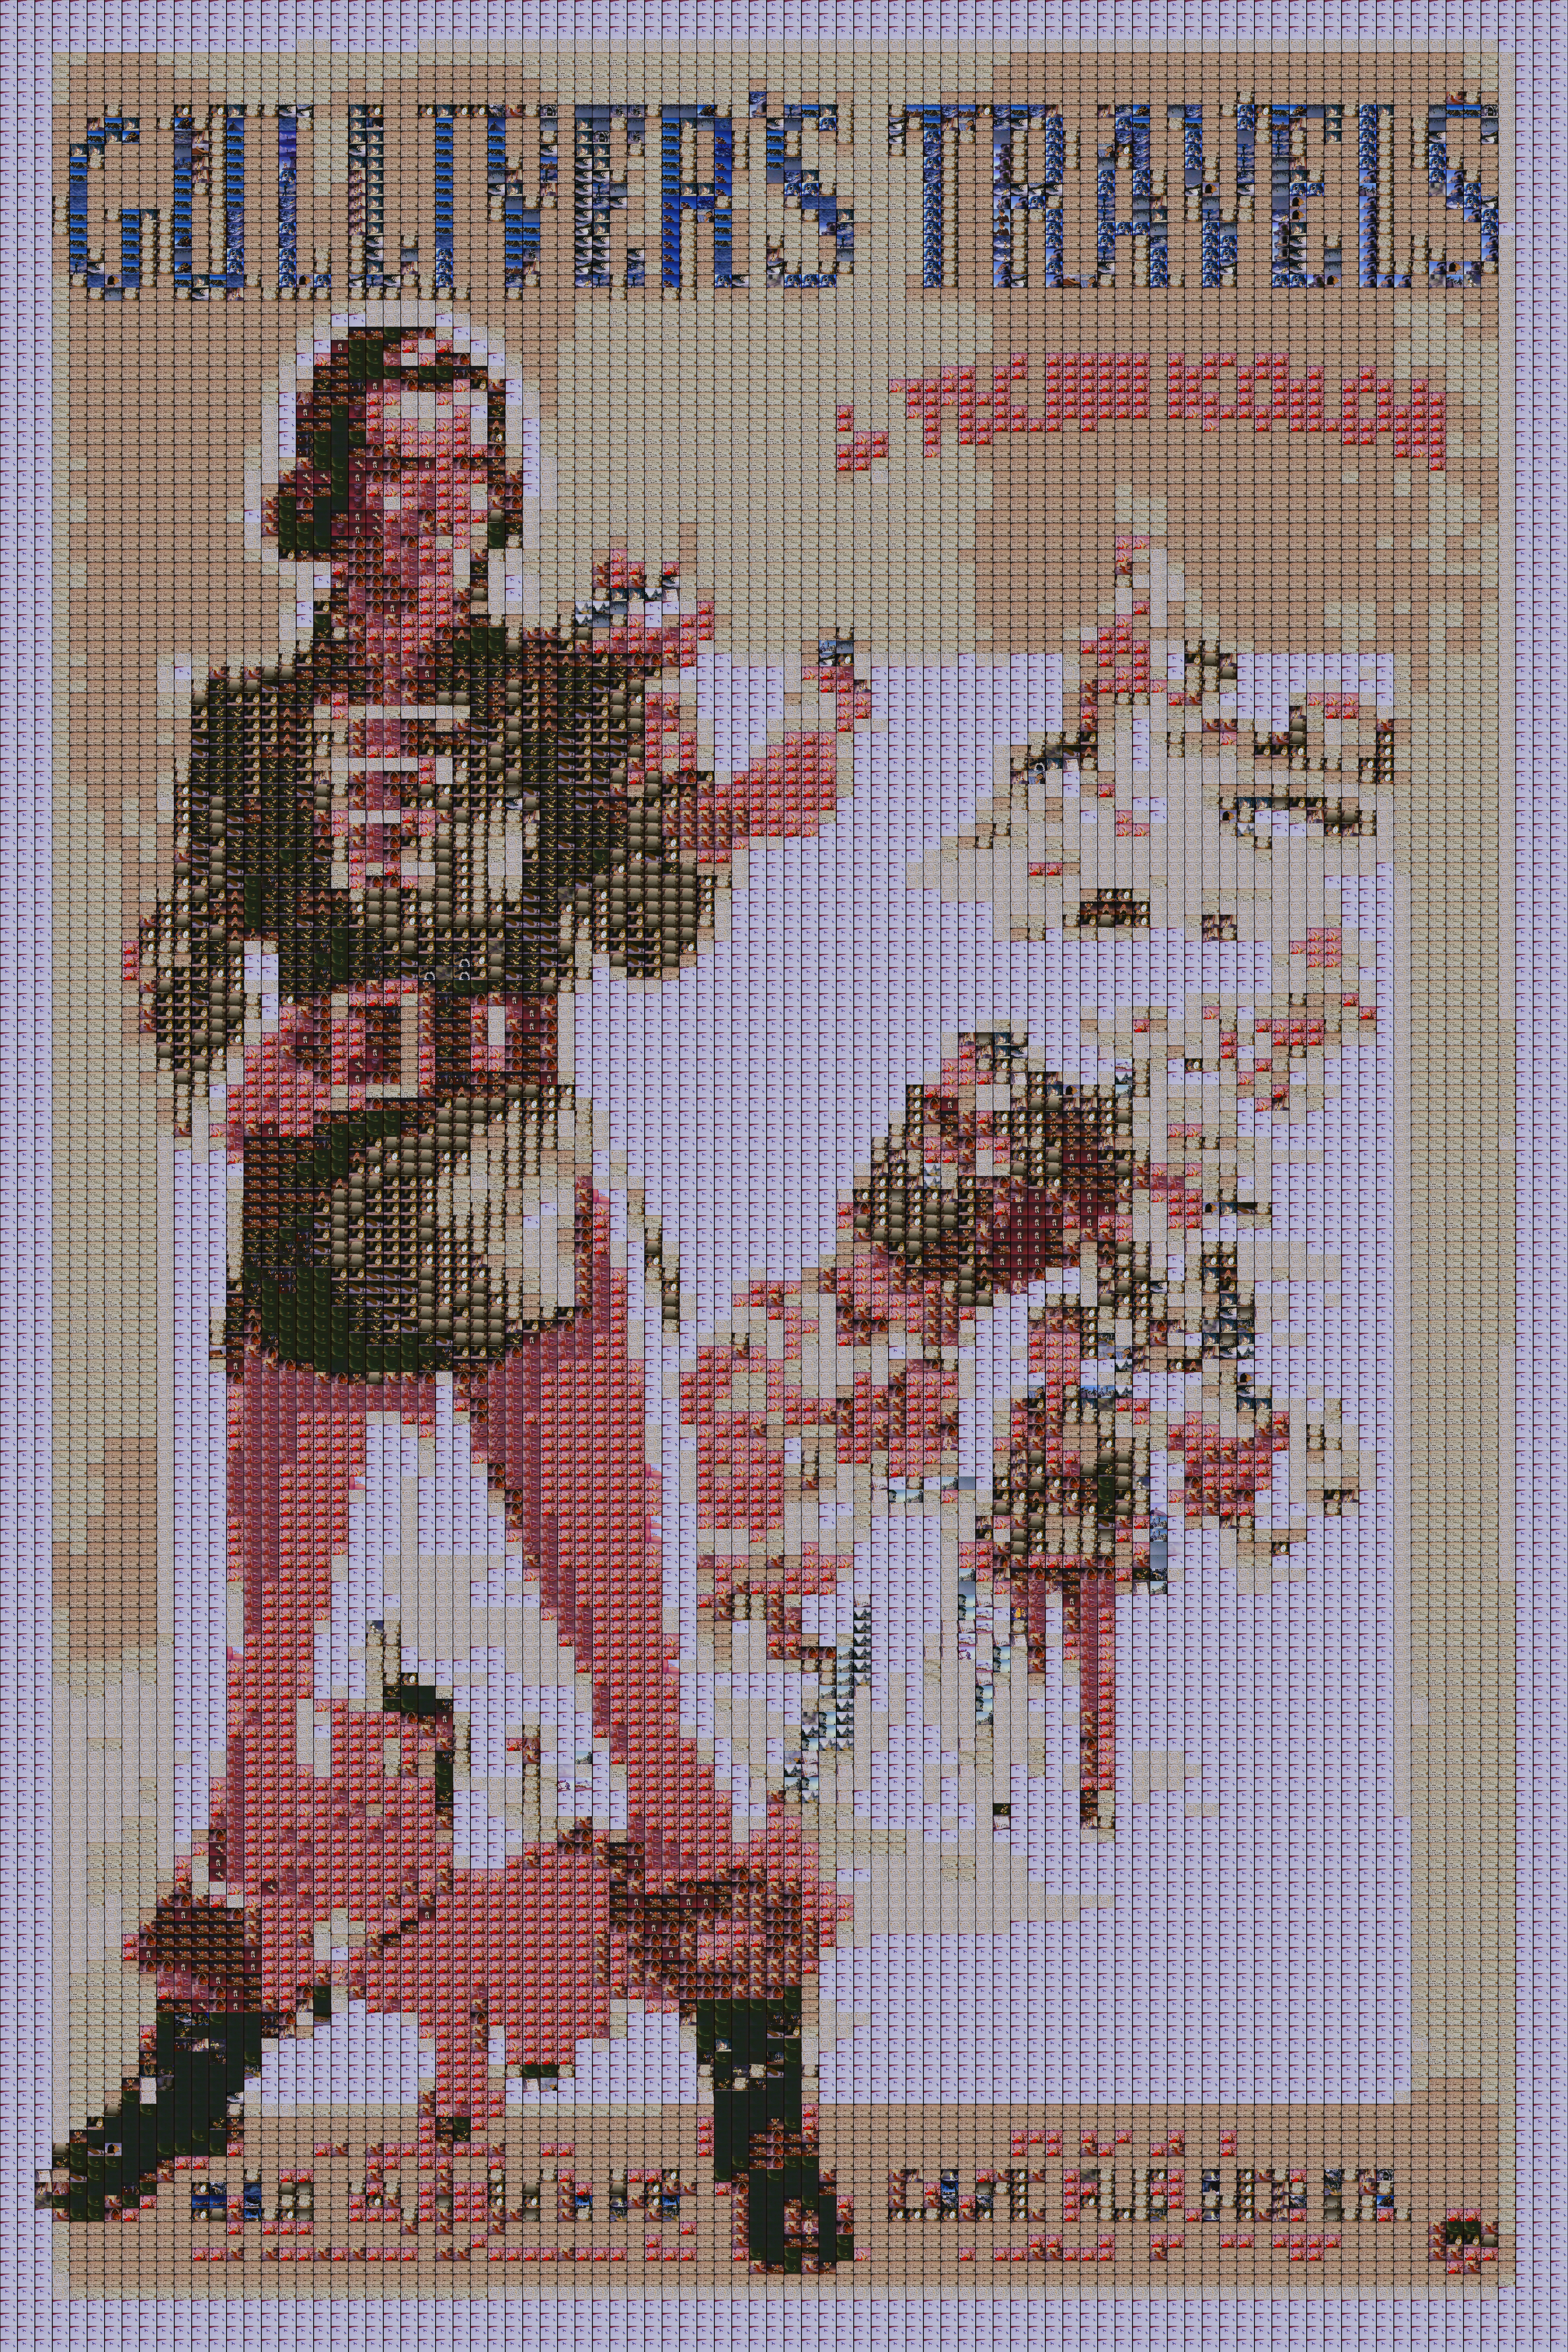
We ran a program (ffmpeg) to extract all
the frames of "Gulliver’s Travels." You will use these images
to build an image mosaic of the movie poster. Each patch of the movie
poster will be represented by one of the frames of the movie.
You only need to write one function in this section: image_averages.
To generate the mosaic shown at the top of this webpage, you will use the image_averages function that you will write along with two functions which we provide for you: load_images and mosaic.
7.1. load_images
Let’s first load in all of the frames of the movie using the load_images function provided below.
(Just copy and paste this function into your program.)
You can use the sample main function below to test that the function is working.
def load_images(base, max_imgs):
    '''
    Return a list of images from files named BASE/output_0001.png,
    BASE/output_0002.png, ...BASE/output_[max_imgs].png

    Parameters:
        base:str - the directory and prefix of the files to load
        max_imgs:int - the highest numbered image in the directory
    Returns:
        a list of Images
    WARNING: Takes about 6 seconds to load all 2294 gulliver images
    '''

    imgs = []
    for i in range(1, max_imgs):
        img = Image("%s/output_%04d.png" % (base, i))
        imgs.append(img)
    return imgs

def main():
    # This loads all 2294 images into the list called images
    images = load_images("/data/cs21/gulliver", 2294)

    # As a demonstration of what you've loaded, let's make a
    # film strip from the first ten images of the list. This
    # part below is just for demonstation and you won't use
    # this in your final code for the lab.
    n = 10
    w = images[0].getWidth() // 4   # the target width for the images
    h = images[0].getHeight() // 4  # the target height for the images
    strip = Image(w * n, h)         # the strip will be n images wide

    for i in range(n):
    	rect = Rectangle(Point(i*w, 0), Point(i*w + w, h))
        images[i].pasteInto(strip, rect)  # paste the frame

    strip.save("filmstrip.png")

main()
7.2. image_averages
Now that you’ve loaded in all of the movies frames, let’s calculate the average color in each frame.
You need to write this function: images_averages(image_list). This function takes the list of
movie frames you read in from load_images as its only parameter. You want to compute the average
color in each frame of the movie, accumulating the results into a list. The function will return this
list of colors. The function stub is below.
def image_averages(image_list):
    '''
    Return a list of the average color of each image in a list of images.

    Parameters:
        image_list:list - a list of Images
    Returns:
        a list of colors (list of [r, g, b])
    WARNING: Takes about a minute to compute the average of all
             2294 gulliver images
    '''
    pass

def main():
    images = load_images("/data/cs21/gulliver", 2294)
    averages = image_averages(images)
    for i in range(10):
        print("frame %d's average rgb is %s" % (i, averages[i]))

main()
The main function prints out the average RGB values for the first ten frames. Be sure your output matches the output below before proceeding to the next section.
OUTPUT
frame 0's average rgb is (33, 33, 28)
frame 1's average rgb is (76, 58, 78)
frame 2's average rgb is (85, 64, 84)
frame 3's average rgb is (74, 48, 68)
frame 4's average rgb is (83, 54, 76)
frame 5's average rgb is (115, 84, 103)
frame 6's average rgb is (112, 85, 103)
frame 7's average rgb is (112, 85, 101)
frame 8's average rgb is (108, 73, 87)
frame 9's average rgb is (100, 70, 74)
7.3. mosaic
Finally, we will use the list of frames from the movie and the list of average colors from each frame to generate the mosaic.
Rather than drawing a rectangle using rect.draw(img), mosaic use inserts a small_image
into a bigger_image image using small_image.pasteInto(bigger_image, rect).
The function mosaic below takes the bigger image, the list of individual
movie frames (the smaller images), and the width and height of smaller images:
mosaic(image, frames, img_width, img_height) and returns the image
mosaic.
You can just copy and paste this code into your program.
def mosaic(img, frames, img_width, img_height):
    """
    Pixelize an image, img, with each block being img_width pixels
    wide and img_height pixels high. Blocks are images from the list
    of images based on the image that most closely matches the color
    of the pasted image.
    Parameters:
        img:Image - the image to pixelize
        frames:list - a list of images
        image_width:int - the width of each block
        image_height:int - the height of each block
    Returns:
        a new pixelized image
    """
    new_img = Image(img.getWidth(), img.getHeight())
    avgs = image_averages(frames)
    for x in range(0, img.getWidth(), img_width):
        for y in range(0, img.getHeight(), img_height):
            # create a rectangle object to describe the patch
            r = Rectangle(Point(x, y), Point(x + img_width, y + img_height))

            # compute the average color of the patch
            c = compute_avg(img, r)

            # find the nearest (in terms of color) frame to this patch
            nearest_i = nearest_color(avgs, c)
            smallImage = frames[nearest_i]

            # draw the small frame into the poster
            smallImage.pasteInto(new_img, r)
    return new_img

def main():
    img = Image("/data/cs21/gulliver/poster_full.png")
    frames = load_images("/data/cs21/gulliver", 2294) # see subset note below
    o_img = mosaic(img, frames, 18, 12)
    o_img.save("mosaic.png")

main()
7.4. Subset of the Images
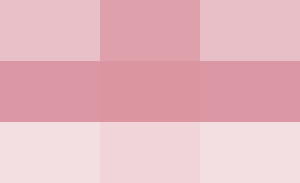
While testing this part of the lab, you can speed up the program by loading only the first 50 images or so, rather than all 2294 images. This generates a much less accurate mosaic, but you can compare the mosaic you generate this way using sample mosaic below.
![]()
def main():
    img = Image("/data/cs21/gulliver/poster_full.png")
    # Change from 2294 to 50 makes it run faster (with worse results)
    frames = load_images("/data/cs21/gulliver", 50)
    o_img = mosaic(img, frames, 18, 12)
    o_img.save("mosaic_50.png")

main()
7.5. OPTIONAL: Discourage Duplicates
An extra challenge is to discourage the program from drawing the same image repeatedly.
Answer the Questionnaire
Each lab will have a short questionnaire at the end. Please edit
the Questions-06.txt file in your cs21/labs/06 directory
and answer the questions in that file.
Once you’re done with that, you should run handin21 again.
Submitting lab assignments
Remember to run handin21 to turn in your lab files! You may run handin21
as many times as you want. Each time it will turn in any new work. We
recommend running handin21 after you complete each program or after you
complete significant work on any one program.
Logging out
When you’re done working in the lab, you should log out of the computer you’re using.
First quit any applications you are running, like the browser and the
terminal. Then click on the logout icon ( or
or
 ) and choose "log out".
If you plan to leave the lab for just a few minutes, you do not need to log
out. It is, however, a good idea to lock your machine while you are gone. You
can lock your screen by clicking on the lock  icon.
PLEASE do not leave a session locked for a long period of time. Power may go
out, someone might reboot the machine, etc. You don’t want to lose any work!